January / February 2019
The Periwinkle Junior
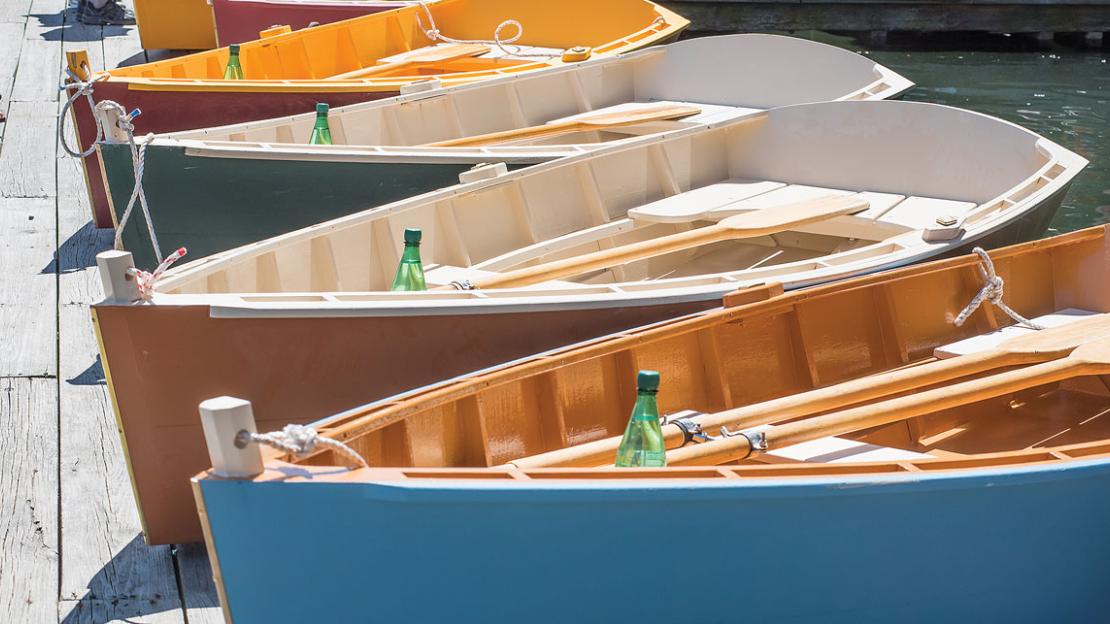
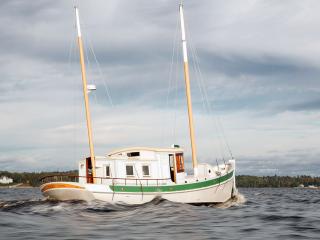
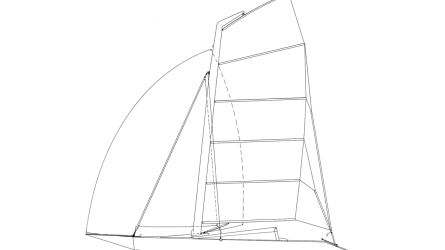
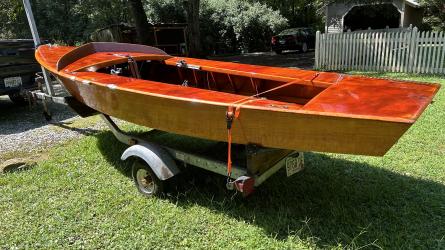
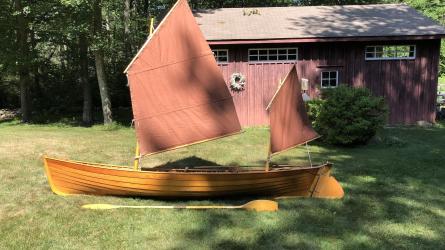
Because the Periwinkle Junior, designed by Nat Benjamin, is a fun boat to build and to use, the type has become the principal boat built by students in the Community Boat Building program in Boston.
In Part 1 of this series, we completed the hull structure of the Periwinkle Junior. We’ll start this second and final article with making and installing planks, and then we’ll see the project through to completion, including the framing and interior fit-out.
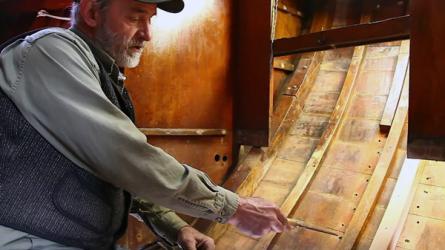
16. Making planks. The Periwinkle Junior has two planks per side, made of 1⁄2"-thick pine. One is called the chine plank and the other the sheer plank. We have developed loftings and tables of offsets for each of them, so we can avoid having to line-off the hull and spile, or measure, the planks individually each time. Plot these points on the boards, just as in lofting the hull. After cutting the plank edges and planing them fair and square, a small caulking bevel must be planed along the bottom outside edge of the sheer plank to allow cotton to be driven into the seam.
17. Installing the planks. Align the first chine plank (or garboard) so that its station marks correspond to those on the molds; also, the edge corresponding to the bottom of the boat should project slightly past the chine logs, where it can be planed flush before the bottom panel is attached later. Whenever fitting a plank, it is best to align it and drive at least a few screws to hold its position, then remove it to add Sikaflex bedding compound to the chine logs, stem, and transom. We have many hands, so we apply the bedding, then simply hold the plank in place for fastening. We use 1" No. 10 screws to fasten the plank every 4" or 5" along the chine log and 11⁄4" No. 10 screws at the stem and 2" No. 10 screws at the transom. When installing the second chine plank, make sure that its top edge matches the height of the first one at the stem and transom, so that the planking will be symmetrical.
At this point, depending on the most efficient use of our time with the students, we sometimes continue to finish the topside planking, but other times we install the plywood bottom first. Installing the bottom first arguably makes the clamping easier, so we’ll describe that process here.
Whether the sheer planks are installed now or after the bottom goes on, making them follows the same techniques used for the chine planks. They are fastened only at the stem and transom, with Sikaflex in those joints. It is important to clamp the planks tightly to one another when fitting the plank, but after the clamps are released, a gap will appear in the seam; this is normal, and it can be taken up later, when the frames are installed.
To read the rest of this article:
Click the button below to log into your Digital Issue Access account.
No digital access? Subscribe or upgrade to a WoodenBoat Digital Subscription and finish reading this article as well as every article we have published for the past 50+ years.
ACCESS TO EXPERIENCE
Subscribe Today
1 YEAR SUBSCRIPTION (6 ISSUES)
PLUS ACCESS TO MORE THAN 300 DIGITAL BACK ISSUES
DIGITAL $29.00
PRINT+DIGITAL $42.95
Subscribe
To read articles from previous issues, you can purchase the issue at The WoodenBoat Store link below.
 Purchase this issue from
