Tools and Materials Required to Build a Kaholo Standup Paddleboard
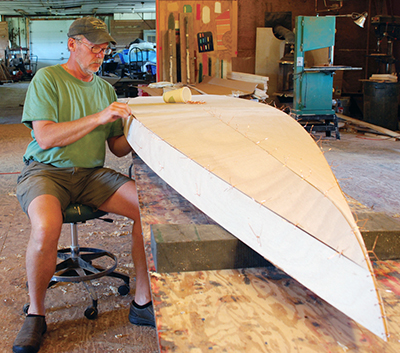
In WB No. 229, Geoff Kerr presented the first part of a two-part article on building the Kaholo Standup Paddleboard from Chesapeake Light Craft. His manuscript included an impressively detailed list of tools and supplies that we simply couldn’t fit onto our pages, what with all of the detailed drawings and step-by-step images we included for the project. Geoff tells us “I’ve added and subtracted from the ‘official’ list you’ll find in the CLC manual. I have no secrets or editorial intentions in doing so; this is simply what I use and recommend for my classes.” —Eds.
- Tape measure
- Straightedge/yardstick (make sure it is straight)
- Japanese-style handsaw
- Block plane (sharp and tuned; they don’t come that way new unless Santa brought you a Lie-Nielson)
- Drill/screw gun (I use 3/32″ bits for the wire holes, for easy stitching)
- Wire cutters (No. 6 “dikes” are fine)
- Pliers (a slip-joint pair, 6″ or so, and a pair of needle-nosed)
- Utility knife, with a box of blades (you should treat yourself to a new blade every day!)
- Clamps (18, 2″-opening spring clamps; shop around… they needn’t break the bank)
- Sander (a 5″ random-orbit sander)
- Safety gear (I wear safety glasses, a really good dust mask, and ear plugs; you will discover the meaning of resonance when you start sanding these things!)
If building from scratch, you’ll need to add:
- A circular saw (mine is a 6″ model) with a good fine-toothed plywood blade
- Jigsaw (ditto on the blade)
- Awl for marking
- Flexible batten or drafting splines
In addition, you’ll need the following supplies:
- Sandpaper (80- and 180-grit, both for your sander and hand use)
- Chip brushes (disposable bristle brushes, 1″ and 3″, are convenient; get a dozen or so of each, and use them in epoxy and then discard, as the cured brushes are way more inert than the gallons of solvent needed to clean them)
- Yellow foam rollers, about 1/8″ nap (toss them after use; I buy 9″ rollers in bulk and saw them in half on the bandsaw, then use them on 4″ roller frames)
- Paper cups and stir sticks (for mixing epoxy; use yogurt containers and cut-off milk jugs for larger batches)
- Gloves (buy boxes of latex or nitrile or vinyl work gloves, at least two boxes of 100. Make sure they are a good size for you. You should have a pair on every time you approach the epoxy jugs!
- Plastic sheeting (4-mil poly is good, for masking and such)
- Denatured alcohol (for epoxy cleanup)
- Rags
- Disposible pastry bags
- 2″ packing tape (for masking and clamping)
- A 1″, bevel-edged, good-quality putty knife
- Heat gun (indispensable for cleaning up cured epoxy squeeze-out
- Scraper (a short 1-2″ paint scraper, or if you are splurging, buy a Pro-Prep brand with interchangeable blades… now we’re talking fine woodworking!)
